
Diamond Painting Blog
How to Use a Diamond Painting Kit for Beginners: Step-by-Step Guide to Your First Masterpiece

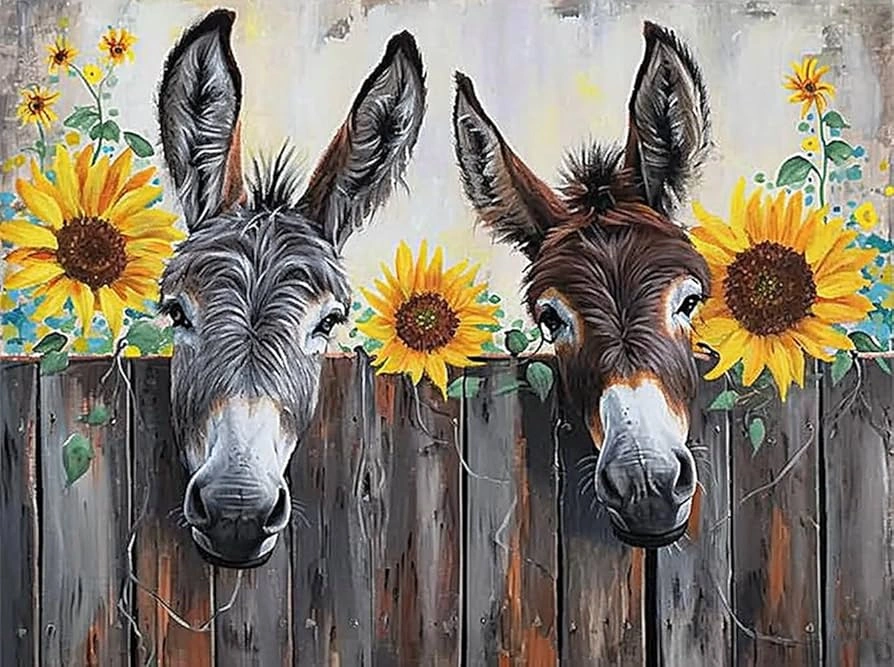
Using a diamond painting kit for beginners is surprisingly simple, even if you've never picked up a paintbrush or needle in your life. This therapeutic craft lets you create stunning, sparkly artwork by placing tiny resin rhinestones onto an adhesive canvas. The best part? It's practically mess-free, and you don't need any artistic skills to produce beautiful results.
In this guide, I'll walk you through everything you need to know about how to do diamond painting, from understanding what's inside your kit to diamond painting setup and complete diamond painting instructions. Whether you're looking for a mindful, screen-free hobby or simply want to try something new, I'll show you exactly how to use a diamond painting kit and share helpful tips to make your first project a success.
What's Inside Your Diamond Painting Kit
Before you start your first project, familiarize yourself with what's inside your diamond painting kit for beginners. Opening the package reveals several components that work together to help you create your artwork.
The self-adhesive canvas forms the foundation of your project. It features a pre-printed design with color-coded symbols that guide where each diamond goes. Each symbol corresponds to a specific diamond color, with a chart printed directly on the canvas showing these number-to-symbol relationships.
Your kit includes resin diamonds, also called drills, packaged in resealable baggies. These small, faceted pieces create the sparkling effect in your finished artwork. In addition, you'll find a diamond applicator pen, which serves as your primary tool for picking up and placing diamonds. The pen works with a small wax pad that creates just enough stickiness to grab each diamond[7].
The grooved craft tray helps organize your diamonds as you work. When you shake it lightly, diamonds flip right-side up for easier picking. Most kits also include a reference sheet with the canvas legend and printed instructions to guide you through the process.
Some kits provide tweezers and multi-placer attachments for the applicator pen, allowing you to place multiple diamonds at once. These basic supplies give you everything needed to complete your diamond painting from start to finish.
Diamond Painting Set Up and Step-by-Step Instructions
Set your canvas on a clean, flat surface where you can work comfortably. Before starting, remove all items from your package and organize your workspace. Since the canvas comes with protective film covering the adhesive, resist the urge to peel it all off at once.
Working in sections prevents the adhesive from collecting dust and keeps your project manageable. Peel back only a small portion of the protective film to expose the area you want to work on. When you're not actively placing diamonds, replace the plastic cover to protect the exposed adhesive.
Follow these steps to complete your diamond painting:
- Pour a small amount of diamonds from one color into your grooved tray
- Shake the tray gently side to side until the diamonds settle faceted-side up in the grooves
- Load your pen with wax by scooping the tip into the wax at an angle, then twist it to ensure full coverage
- Press the pen tip onto the rounded, faceted side of a diamond to pick it up
- Carefully place the diamond onto its matching symbol on the canvas, flat side down
- Repeat this process, working one color at a time within your exposed section
Once you finish a section, you can peel back another portion and continue the same process.
Diamond Painting Tips for Beginners
Several strategies can elevate your diamond painting experience beyond the basic instructions. Work in smaller sections rather than exposing large areas of adhesive at once. This prevents dust accumulation and maintains stickiness throughout your project.
For round drill paintings, a light pad underneath your canvas reduces eye strain when distinguishing between similar symbols. Magnifying loupes offer another solution, allowing you to see tiny symbols clearly.
Replace the included wax with sticky tack for better results. One dot of sticky tack lasts through an entire regular-sized painting, whereas the red wax needs frequent reloading.
Multi-placer tools speed up progress on larger projects with big areas of the same color. These attachments let you place three, six, or even nine drills simultaneously. However, use them only where the same color code appears in large blocks. For sections with multiple colors next to each other, stick with a single placer to avoid mistakes. After using a multi-placer, press each drill down with your single-head pen to ensure proper alignment.
Straightening tools help maintain neat rows. Place the device along a row of drills at a slight angle and press firmly to push them into alignment. Similarly, a ruler or credit card works well for this purpose.
Finally, invest in bead storage containers instead of relying on the original baggies.
Conclusion
You now have everything you need to start your first diamond painting project with confidence. Remember, the key is working in small sections and taking your time as you learn the process. Don't worry if your first rows aren't perfectly straight, you'll naturally improve as you go.
Specifically for beginners, patience makes all the difference. Follow the steps above, use the tips I've shared, and you'll create a sparkling masterpiece you'll be proud to display.