
Diamond Painting Blog
How do you frame a diamond painting?

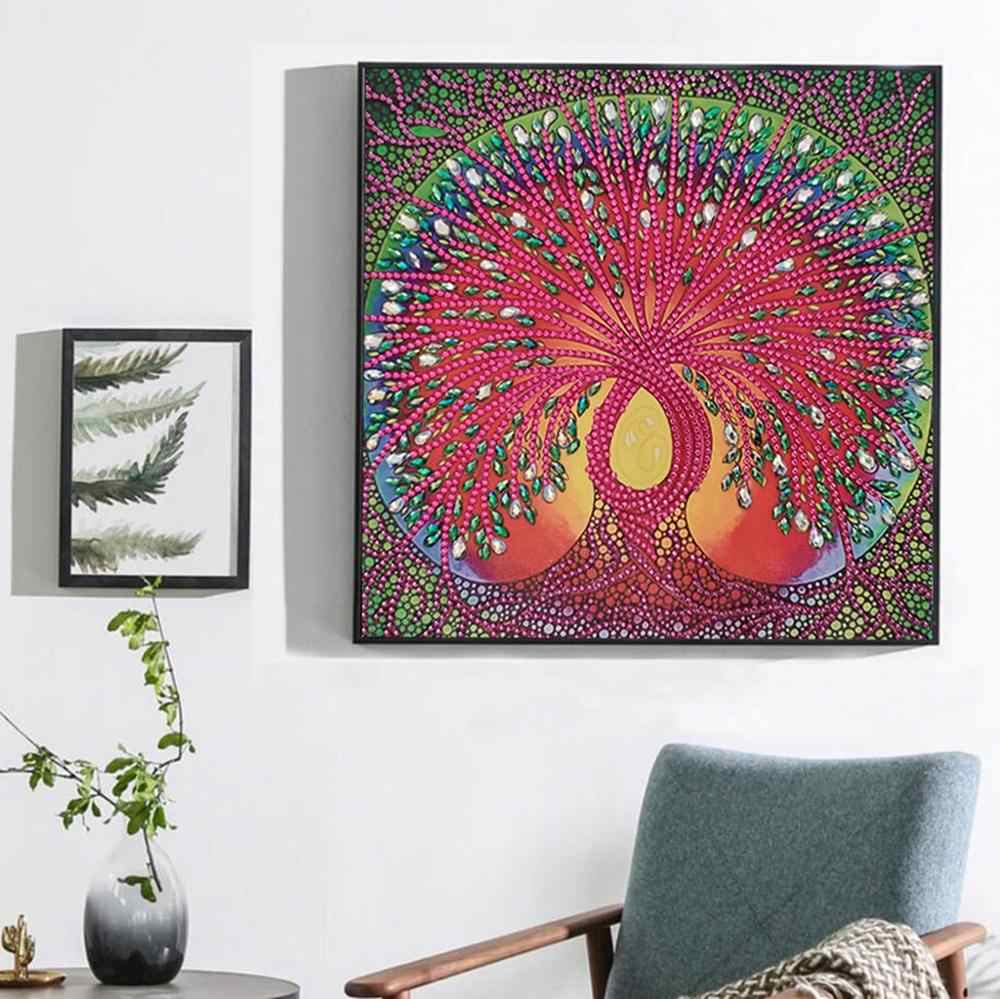
Framing a diamond painting can elevate its beauty and protect it from damage. Framing your finished diamond painting not only protects it but also elevates its presentation, making it a true work of art worthy of display. Here's a step-by-step guide on how to frame a diamond painting:
1. Gather Your Materials:
- Framed Diamond Painting: Your completed and sealed diamond painting.
- Frame: Choose a frame that complements the size, style, and colors of your artwork.
- Measuring Tape or Ruler: To ensure the frame fits correctly.
- Mat Board (Optional): Adding a mat board around your diamond painting can create visual breathing space and enhance its appearance.
- Backing Board: For support and to protect the back of the canvas.
- Glass or Acrylic Glazing (Optional): Protects from dust, moisture, and UV damage.
- Acid-Free Tape or Adhesive: To secure the diamond painting within the frame.
- Hanging Hardware (if needed): Depending on the frame and where you plan to hang it.
2. Prepare Your Diamond Painting:
- Seal It (if not already done): Apply a sealant (like Mod Podge or a clear acrylic sealer) over the diamonds to prevent them from shifting or falling out. Let it dry completely.
- Flatten the Canvas (if needed): If your canvas is slightly warped, place it under heavy books or weights for a few days to flatten it.
3. Choose Your Frame:
- Size: Measure your diamond painting accurately and select a frame that matches those dimensions.
- Style: Consider the overall aesthetic of your artwork and your home décor when choosing a frame style. Simple, sleek frames often work well for modern designs, while ornate frames can complement more traditional or vintage-inspired pieces.
- Color: Opt for a frame color that harmonizes with the colors in your diamond painting or provides a pleasing contrast.
4. Optional: Add a Mat Board:
- Purpose: A mat board creates a border around your artwork, adding visual appeal and preventing the diamond painting from touching the glazing.
- Selection: Choose a mat board color and size that complement your artwork.
- Cutting: If you're using a custom mat board, have it cut to size by a framing professional, or use a mat cutter if you have one.
5. Assemble the Frame:
- Place Backing Board: Put the backing board inside the frame.
- Secure the Diamond Painting: Center your diamond painting on the backing board (or on the mat board if using one). Use acid-free tape or adhesive to secure the edges of the canvas to the board.
- Add Glazing (Optional): Carefully place the glass or acrylic glazing over the diamond painting.
- Close the Frame: Secure the back of the frame, holding everything in place.
6. Attach Hanging Hardware (if needed):
- Follow Frame Instructions: Most frames come with hanging hardware or instructions.
- Center the Hardware: Ensure the hanging hardware is centered and securely attached to the back of the frame.
7. Hang and Enjoy!
- Choose the Perfect Spot: Find a prominent location with good lighting to showcase your framed diamond painting.
- Hang Securely: Use appropriate hanging hardware and techniques to ensure your artwork is displayed safely and securely.
Tips:
- Handling: Handle your diamond painting with clean hands or wear cotton gloves to avoid transferring oils or dirt.
- Professional Framing: For valuable or large diamond paintings, consider professional framing for the best results and archival-quality materials.

Framing your diamond painting is the perfect finishing touch to transform it into a treasured piece of art. With a little care and attention to detail, you can create a stunning display that you'll be proud to show off!
Related Posts

How do I choose diamond painting?

Choosing the right diamond painting can be an exciting but sometimes overwhelming experience with so many options available! Here's a g...

What is a diamond painting?
Diamond painting is a captivating craft and hobby that has become increasingly popular in recent years. It involves placing tiny resin ...

Diamond Painting: A Sparkling and Relaxing Craft Hobby
Diamond painting is a modern craft that combines elements of cross-stitch and paint-by-number, allowing enthusiasts to create dazzling,...

Why is Diamond Painting So Cheap?
Diamond painting has become a popular hobby in recent years, and one of the reasons for its widespread appeal is its affordability. Dia...

What is Diamond Painting? A Comprehensive Guide
Diamond painting is a popular hobby that has gained widespread attention in recent years, also known as diamond art or diamond embroide...